Liz Cowan showed me and Jenna T how to make these delicious Gluten free treats. We got our custard on and blow torch fired up and had a blast. My dad loves crème brûlée 🍮 and I knew I needed to master this. I like how you can prep a few days ahead and fire up when you want to serve these and an easy gluten free treat.
Super easy if you have the supplies.
Ingredients
- 3 cups heavy cream (720mL)
- 2 tsp. Madagascar vanilla bean paste (crucial). Get from Gygis see link
- 5 egg yolks
- ½ cup granulated sugar plus more for topping (100g)
- ⅛ teaspoon salt
- Need ramekins, torch (or broil method), sieve,
Recipe modified from Preppy Kitchen
Crème Brûlée was just for fancy restaurants, think again! Enjoy this creamy custard with a caramelized sugar topping anytime at home with this easy-to-follow recipe. You’ll love the satisfying crunch of the caramelized sugar and the perfectly smooth texture of the vanilla bean custard. All you need is a few ramekins and a kitchen torch to bring the restaurant to your dining room!
I love how simple ingredients combine to make this elevated and comforting custard. Heavy cream is simmered with a whole vanilla bean to infuse the vanilla flavor into the cream. Eggs, cream, and sugar are whisked together before the cream mixture is added to complete the custard. Sprinkle the baked custard with sugar and caramelize using a kitchen torch for a truly stunning and special dessert!
HOW TO MAKE CRÈME BRÛLÉE

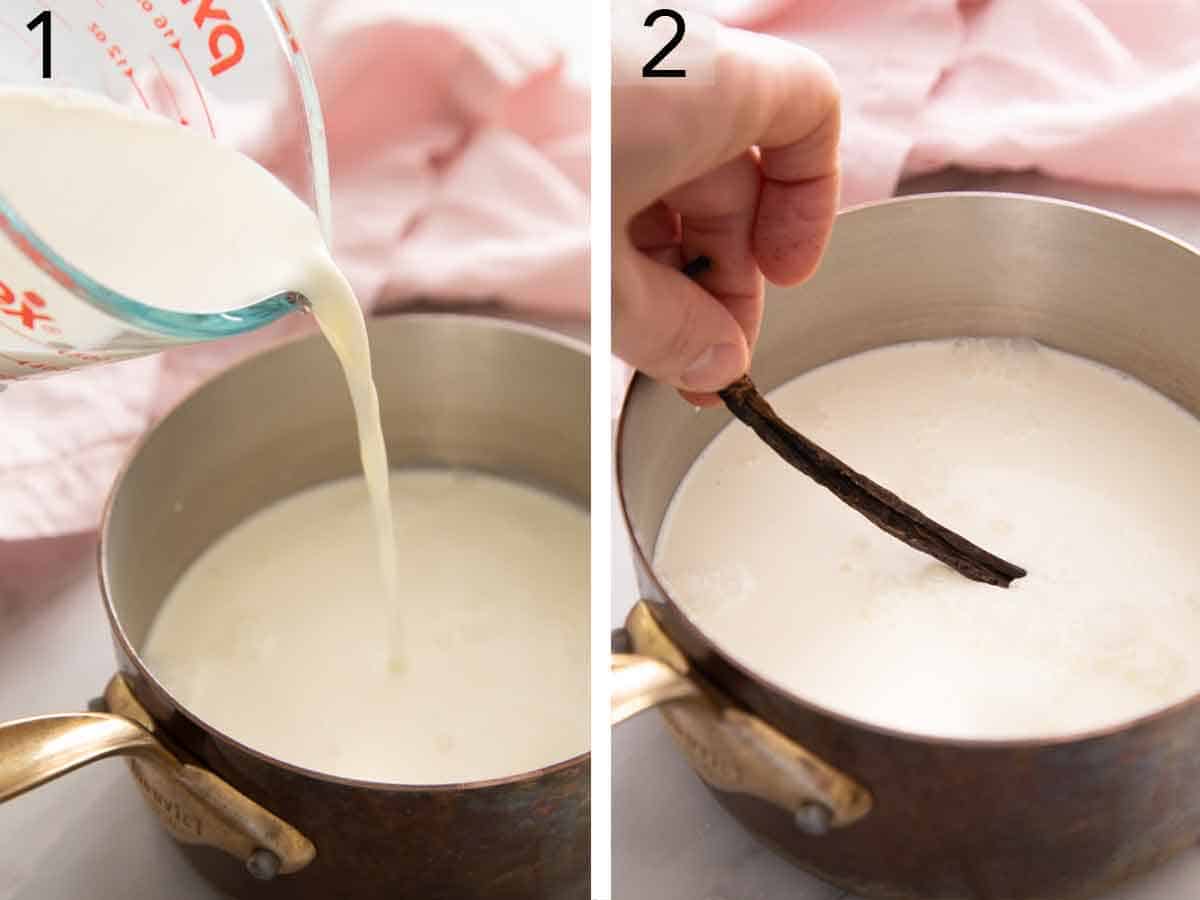
1. Preheat the oven to 325°F. Add the cream to a small saucepan.
2. Add 2 tsp Madagascar vanilla bean paste to the cream and bring to a simmer over medium heat. Remove from heat and let stand for 15 minutes. (We don't deal with the vanilla bean stuff when we have discovered this Madagascar Vanilla Bean paste - add to your icecreams etc. so so good)

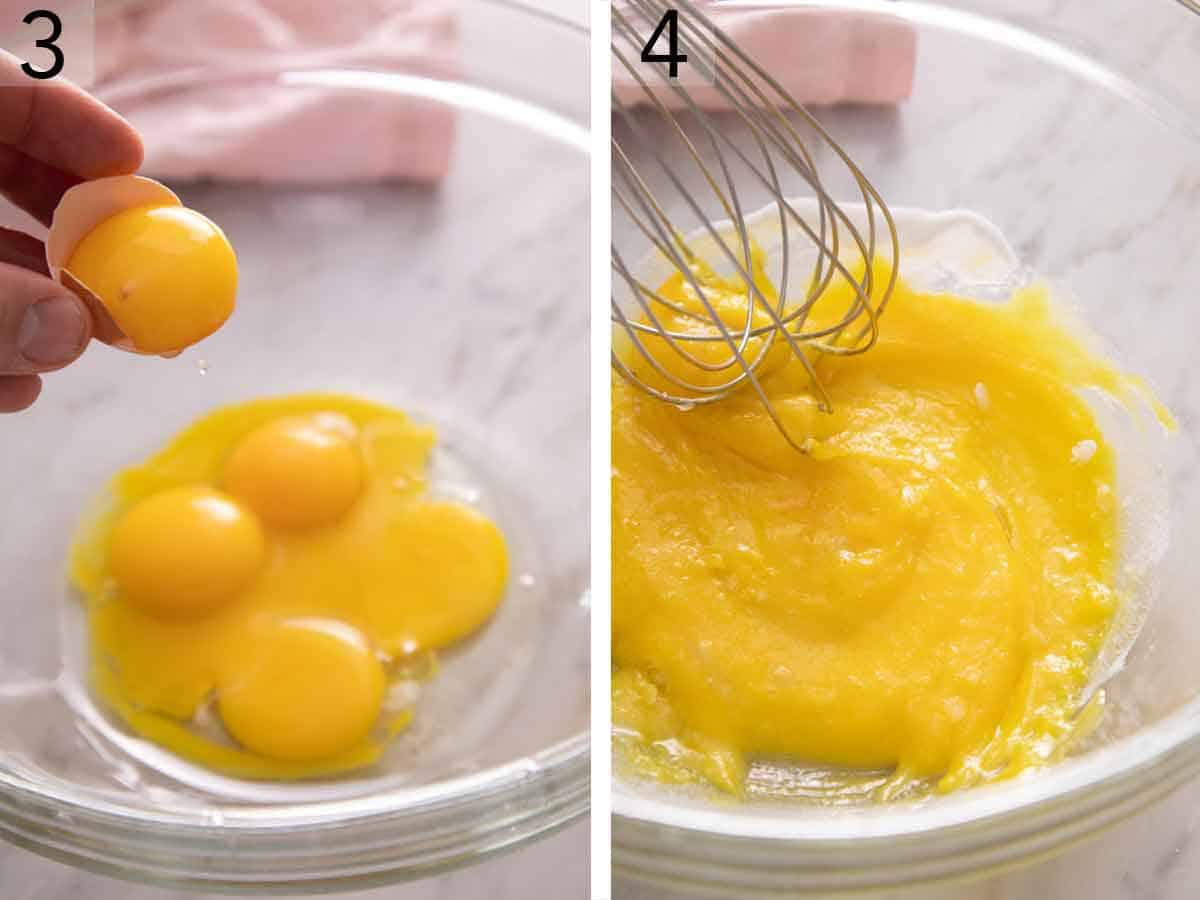
3. Separate the eggs and place the yolks in a large bowl.
4. Whisk together the egg yolks, 1/2 cup sugar, and salt.

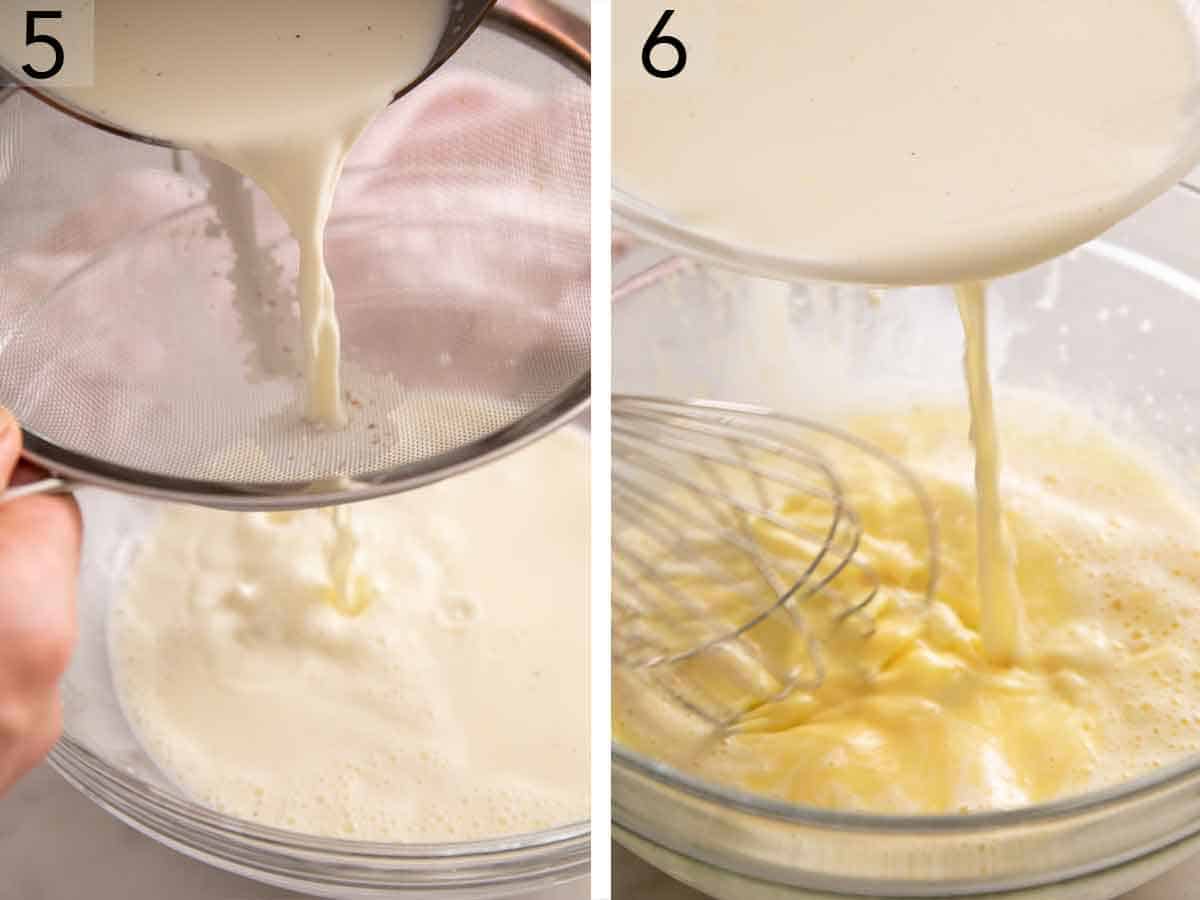
5. Strain the cream through a fine mesh strainer into a bowl. Discard any solids and the vanilla bean pod.
6. Slowly whisk the hot cream into the egg yolks. Strain the custard through a fine mesh sieve and discard any solids caught by the sieve.

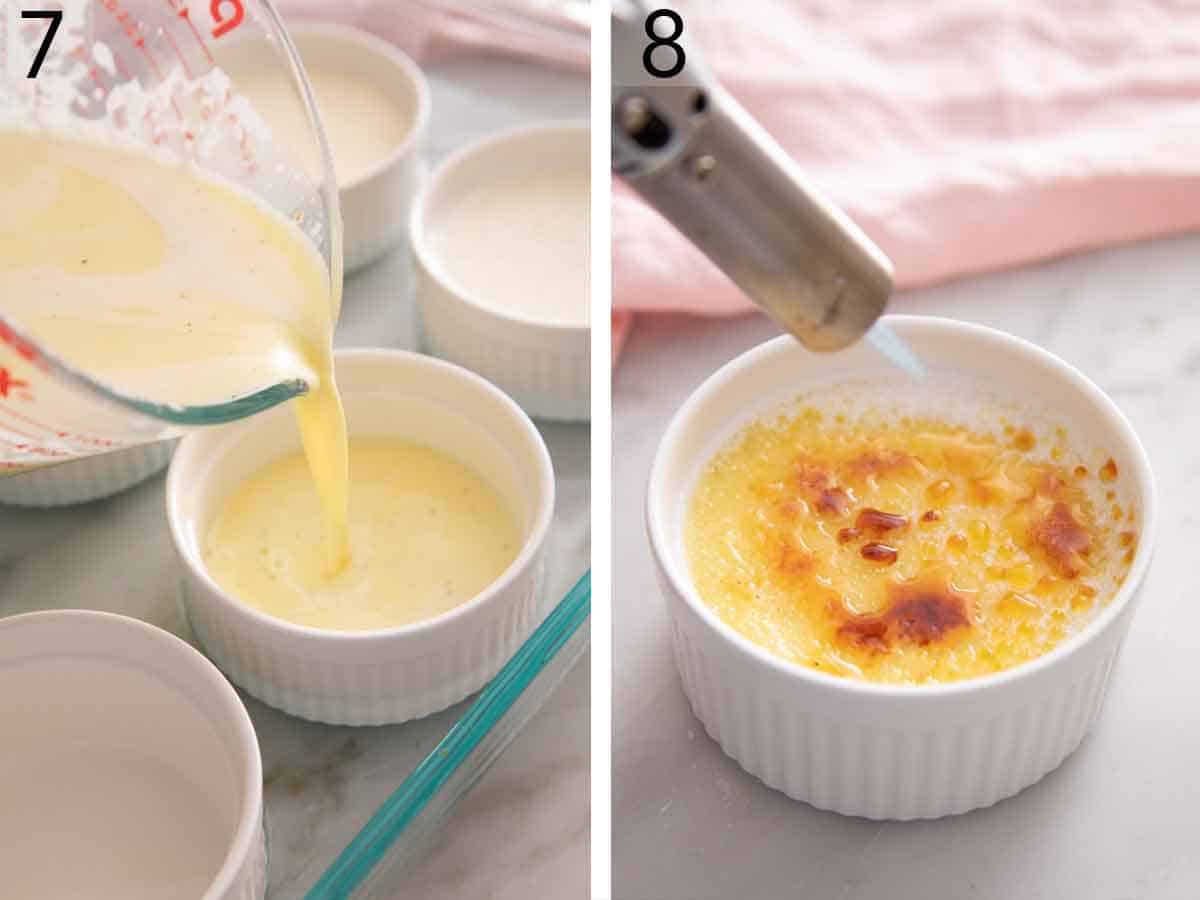
8. When ready to serve, sprinkle sugar evenly over the top of each chilled custard, about 1 to 1½ teaspoons each. Using a blow torch, caramelize the sugar until dark amber and bubbling. Serve immediately.
PRO TIPS FOR MAKING THIS RECIPE
- Use a mesh sieve for the smoothest custard. Strain the vanilla bean and cream mixture before adding the cream to the eggs. Strain the custard mixture before transferring it to the ramekins. These two straining steps will result in the smoothest velvet-like custard.
- Add the hot cream mixture to the egg mixture slowly. For a creamy and smooth custard, temper the egg yolks S L O W L Y by adding the hot heavy cream mixture a little at a time while whisking continuously. If you pour the cream in too quickly you will risk scrambling the egg yolks.(yep guilty of too fast and you lose part of your precious eggs to the scrambled effect 🤪🙃)
- Transfer the custard to a measuring cup with a spout. Use a large measuring cup or a medium bowl with a spout to easily pour the custard into the ramekins for baking. (I use Gygis squeezable bowl) This will prevent spilling and assist with evenly distributing the custard.
- Use 6-ounce ramekins. This recipe works best with 6-ounce ramekins. (Bought cute ones off Temu if you like that or disposable from Amazon here) If you use larger or smaller ramekins, adjust the cooking time and cook until the edges are set but the center wobbles slightly when gently shaken. If you use a shallow ramekin, you’ll have more surface area for the sugar topping, but be sure to reduce the baking time.
- Add the boiling water slowly. Slowly and carefully pour the boiling water into the baking dish until it comes halfway up the side of the ramekins. Be careful not to splash any water into the custard. This water bath is essential to a creamy, smooth creme brulee, so don’t skip it. (I don’t use boiling water I just add warm water).
- Alternate water bath option. Typically, you pour the hot water into the baking dish after the filled ramekins are already placed in it. If you find this difficult, or your baking dish is a tight fit with the ramekins, you can fill the dish first with enough water to cover the bottom by ½ inch, then add the empty ramekins, and fill with custard.
- Keep the kitchen torch moving to evenly caramelize the sugar. Sprinkle the sugar in an even layer atop the custard and make sure it completely covers the custard and touches the sides of the ramekins. Keep the torch moving to evenly caramelize the sugar and prevent the sugar from burning. There is a sweet spot w sugar… not too much and not too little and move quickly so the sugar is torched about a min or so after you add the sugar.
Set custard can be stored in the refrigerator for up to 2 days. Allow the custard to cool at room temperature for several minutes, then cover loosely with plastic wrap and refrigerate. Top with sugar and torch to a carmelized finish just before serving. If there is moisture on the top of the custard after storing, use a paper towel to blot the top dry before adding the sugar.
Never knew:
Can I make this crème brûlée recipe without a kitchen torch?
You can use your oven broiler to caramelize the sugar if you don’t have a kitchen torch. Top the custard with sugar and then broil for 1-2 minutes. Be sure to keep an eye on the crème brûlée as it broils to avoid burning.


No comments:
Post a Comment
Note: Only a member of this blog may post a comment.